How to use iMessage with a travel eSIM?

Using a travel eSIM while traveling doesn’t mean you have to change your contact number. You can keep your primary phone number for messaging and social apps, while using your travel eSIM for data and connectivity. However, if you’ve noticed that your iMessage phone number has changed after installing an eSIM, don’t worry—it’s likely a simple settings issue that can be fixed quickly!
What is iMessage? Is it the same as SMS/MMS?
For iPhone users, iMessage may seem interchangeable with SMS/MMS—but are they truly the same?
In essence, iMessages are texts, photos, or videos sent between Apple devices (iPhone, iPad, or Mac) over the internet, using either WiFi or mobile data. If WiFi isn’t available, iMessage will use your mobile data. These messages are not encrypted and appear as blue text bubbles in your Messages app.
Conversely, SMS/MMS are messages sent to any device, including non-Apple devices, via cellular networks. They draw from the SMS/MMS quota of your phone plan and are also unencrypted, appearing as green text bubbles in your Messages app.
Checking Your iMessage Settings
Installing a travel eSIM in a secondary eSIM slot doesn’t change or deactivate your primary line and phone number. However, after installing an eSIM, you might find that iMessage is not working correctly, or that your phone number has changed. This is usually due to a settings issue.
Follow these steps on your iPhone to ensure the settings are correct:
Open Settings > Messages.
Verify that iMessage is turned on.
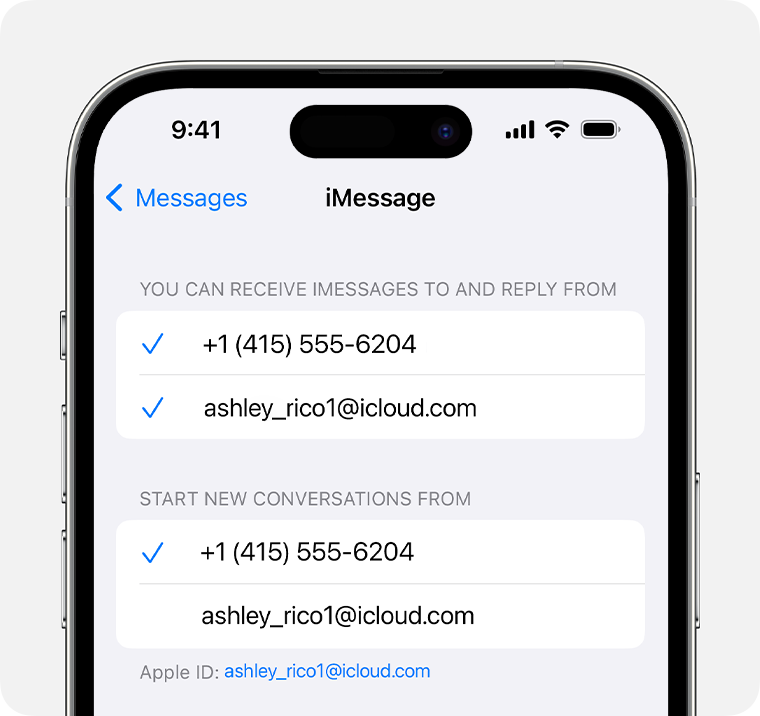
Confirm that the correct line is selected for Send & Receive under iMessage & FaceTime.
Ensure this line is your primary line (the one you usually use). Sometimes, after installing a new eSIM, the device may automatically update this setting to the new eSIM.
If the wrong eSIM is selected for iMessage and FaceTime:
Tap Send & Receive, and choose the correct line.
After these adjustments, you should be able to use iMessage and FaceTime as usual. If issues persist, try restarting your device.
Tips for eSIM Management and iMessage Configuration
To simplify iMessage setup and avoid issues while using a travel eSIM, here are some helpful tips:
Name Your SIM Cards and eSIMs: Giving each eSIM a clear name is a simple but effective way to manage multiple SIMs. This helps you easily identify which eSIM is set up for your messaging apps and prevents confusion.
Add Your Apple ID and Email Address to iMessage: By setting up your Apple ID and email address in iMessage, you can send and receive messages using your email address instead of your phone number. This ensures that your messages aren’t interrupted even if your phone number changes.
Disable ‘Send as SMS’ While Overseas: Disabling this option can prevent unexpected SMS charges if iMessage fails or if you’re messaging someone who doesn’t have iMessage. This way, any messages that can’t be sent as iMessages won’t automatically default to SMS.


